Some wedding pictures...
by Steph
First off, I know my posts have been long and wordy lately so I thought I'd throw some pictures out into cyberspace.
Don't get too excited.
These aren't the professional wedding pictures.
These are pictures from my iPhone.
But no internet at home, still means no pictures from my camera, no matter how hard I wish it wasn't so.
In reality (where I live most of the time), you're the only ones missing out so I don't feel too bad.
I decided to finally share all the wedding DIY (do-it-yourself, Megan) projects that I did for my sister's wedding.


Someday we'll move on from the Dark Ages and get internet. Maybe if the planets align, we'll get cable too. But for now, this is what I have to deal with. What a difficult life I've been given....
{Enter the tiniest violin playing the saddest tune}
First off, I know my posts have been long and wordy lately so I thought I'd throw some pictures out into cyberspace.
Don't get too excited.
These aren't the professional wedding pictures.
These are pictures from my iPhone.
But no internet at home, still means no pictures from my camera, no matter how hard I wish it wasn't so.
In reality (where I live most of the time), you're the only ones missing out so I don't feel too bad.
I decided to finally share all the wedding DIY (do-it-yourself, Megan) projects that I did for my sister's wedding.
The invites were the first step of the process. I created these long ago when my sister and I first started brainstorming about wedding ideas. She loved the idea of having a Mad Tea Party themed wedding so once we got the okay from the soon-to-be-groom, away our imaginations went.
(I did include an address and the website but blocked it out for security purposes in case there are any psychopaths that read this blog. Besides me. But I don't read it. Only proofread. I'll stop now.)
(I did include an address and the website but blocked it out for security purposes in case there are any psychopaths that read this blog. Besides me. But I don't read it. Only proofread. I'll stop now.)

Since the theme was going to be Mad Tea Party, we decided to not just go with one color but to incorporate every color possible in the process. So while each invite was only one color, I used all different colors from a scrapbook package I bought at Joann's. Joann's became my favorite store during the wedding planning and projects. 40% off means lots of cool scrapbooking stuff that I got to keep after all was said and done.
(Thanks Mom and Dad!)

(Thanks Mom and Dad!)

When we first decided to go with multiple colors, my sister made the choice to not have real flowers as centerpieces. This gave us a little bit more flexibility to go with more colors and get some really "Wonderland-y" flowers. I began by Googling "how to make felt flowers" and after seeing several blog posts about it, I decided my "super thinks-I'm-artsy alter ego" could handle it. Again, Joann was my BFF because the felt for all 160+ flowers only cost about $22 total. MUCH cheaper than real flowers...


In the middle of each centerpiece was going to be a "bush" type decoration. I wanted something that looked like topiary without actually buying bushes and attempting to cut them in circles myself. (Me and a chainsaw probably would've equaled disaster and loss of limbs) Enter my BFF Joann.
Styrofoam circles + green spray paint + skewers + my amazing husband = what you see below.

While my husband so diligently painted each "topiary", I began hot gluing the "stems" (aka pipe cleaners) to each flower. Probably the least fun part. But essential.
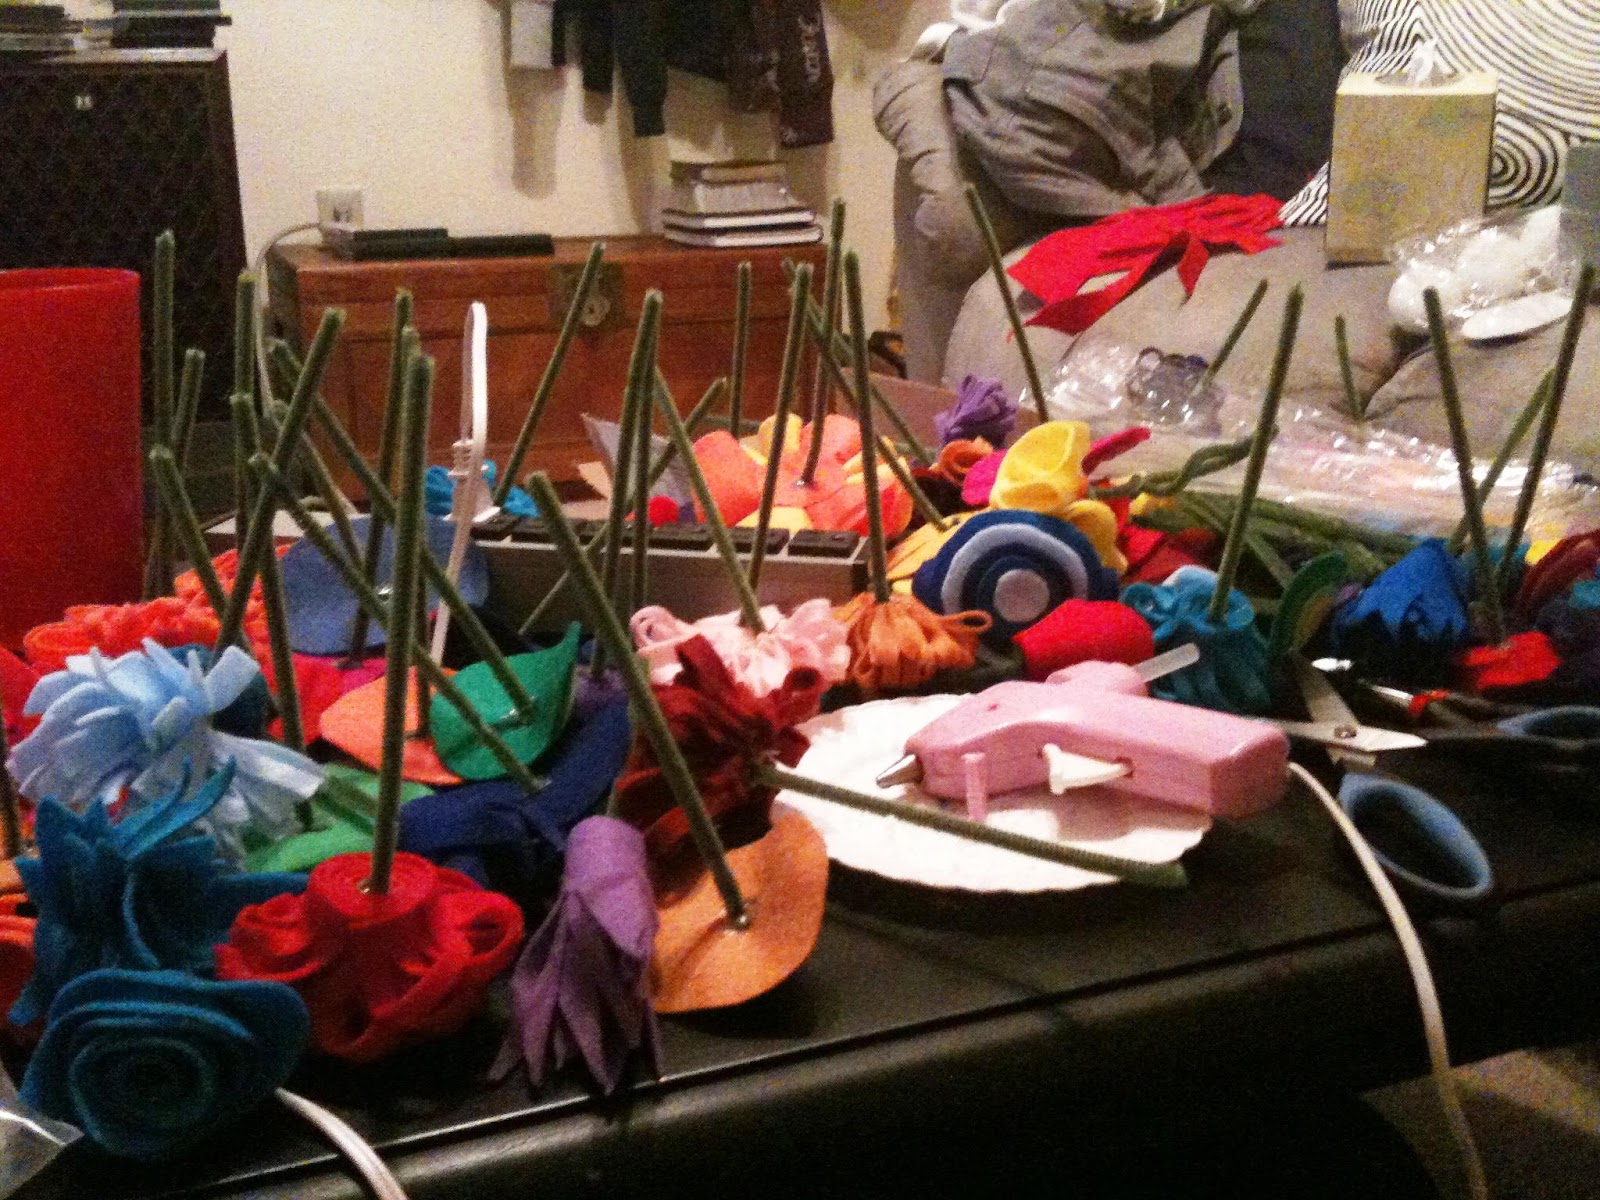
After the glue had dried and my burnt fingers had healed, I separated the flowers into bouquets. I made about 163 flowers so there were some bouquets that were fuller than others. Not that you care but I just want you to know how many flowers I made. It took me ages. AAAAAAAGES.

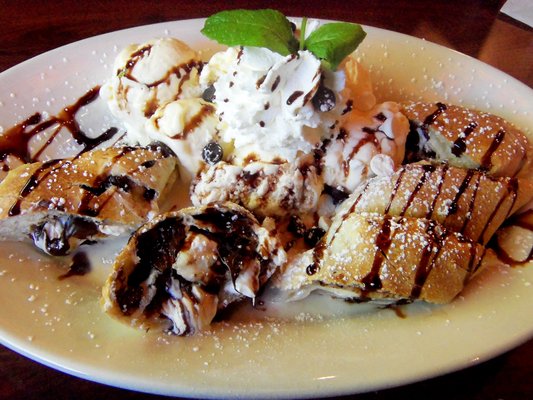
Another little detail was to have "eat me" signs on the desserts. I made these using some corner punches I had bought at Joann's. You can see in the picture below that some of the punches were extremely difficult to use so there were a few mishaps... I was hoping that everyone would be too distracted by the yummy desserts to notice that I had accidentally mispunched some of the corners.

The last thing I did was to create the program. I went off a template I used from my amazing friend Jen and changed wording, colors, sizes, a few fonts and the program was born.


Someday we'll move on from the Dark Ages and get internet. Maybe if the planets align, we'll get cable too. But for now, this is what I have to deal with. What a difficult life I've been given....
{Enter the tiniest violin playing the saddest tune}